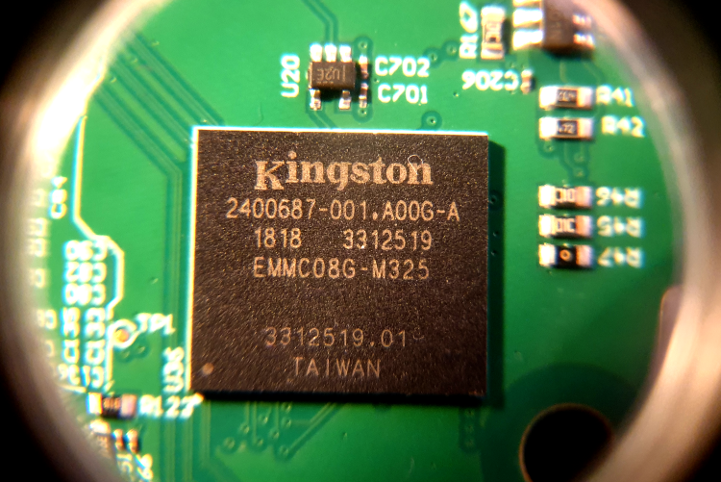
It’s a widely held misconception that flashing a bootloader on a device in the field is risky. The reason is that if power is removed from the device during update, then the bootloader may only be partially flashed and thus won’t boot. This view is correct for devices that boot from a single location without any means of redundancy – However that’s not always the case as features found in modern eMMC chips overcome this problem. In this post we’ll examine the hardware and software support for safely flashing a bootloader on eMMC without any risk of bricking a board.
Normally we think of devices such as eMMC as providing nothing more than a single big block of non-volatile memory – memory that we usually split up into meaningful partitions via software abstractions such as a partition table. For now, let’s call this big block the ‘user area’. Ever since version 4.3 of the JEDEC/MMCA eMMC standard, devices have contained support for an additional two areas of storage known as ‘boot areas’ – effectively another two not-so-big blocks of non-volatile memory. These are sometimes referred to as boot partitions – however this is a slightly confusing term as this has nothing to do with partition tables. It’s more helpful to think of these as additional eMMC devices.
Crucially, since eMMC 4.3, these devices also contain a special boot operation mode that allows the eMMC device to decide which area to present to the host (CPU) when it asks for blocks of data during boot. The boot or user area it presents is determined by a software programmable non-volatile configuration register in the eMMC device (extended CSD register).
In other words you now get three areas of memory that you can write a boot loader to and a software programmable way to select which area the CPU sees when it boots – Thus providing a means for power-failure tolerant upgrade. You can flash one area whilst booting from another – and only tell the eMMC to switch to the newly flashed area once you know it’s been correctly flashed.
Let’s see this in action – for this we’re using the Nitrogen8M i.MX8M reference board from Boundary Devices. We’re also using three nearly identical copies of U-Boot named flash.bin.1, flash.bin.2 and flash.bin.3 – the only difference between them is a printf that we’ve added to tell us which version it is. Let’s start by flashing our copies of U-Boot in the three areas. First up is flash.bin.1 in the ‘user area’ as follows:
=> fatload usb 0 ${loadaddr} flash.bin.1
1266540 bytes read in 87 ms (13.9 MiB/s)
=> mmc dev 0
switch to partitions #0, OK
mmc0(part 0) is current device
=> mmc write ${loadaddr} 0x42 0x9aa
MMC write: dev # 0, block # 66, count 2474 ... 2474 blocks written: OK
As you can see there is nothing unusual here in the way we flash our bootloader. We select the MMC device (0 which is the only device present) and we write our bootloader to block 0x42 (on i.MX8 this is the offset required for the start of the Image Vector Table which is where the boot ROM will look).
Let’s flash flash.bin.2 and flash.bin.3 to the two eMMC ‘boot areas’, as follows:
=> fatload usb 0 ${loadaddr} flash.bin.2
1266540 bytes read in 88 ms (13.7 MiB/s)
=> mmc dev 0 1
switch to partitions #1, OK
mmc0(part 1) is current device
=> mmc write ${loadaddr} 0x42 0x9aa
MMC write: dev # 0, block # 66, count 2474 ... 2474 blocks written: OK

=> fatload usb 0 ${loadaddr} flash.bin.3
1266540 bytes read in 88 ms (13.7 MiB/s)
=> mmc dev 0 2
switch to partitions #2, OK
mmc0(part 2) is current device
=> mmc write ${loadaddr} 0x42 0x9aa
MMC write: dev # 0, block # 66, count 2474 ... 2474 blocks written: OK
In the above output you’ll see that we passed an additional parameter to the ‘mmc dev’ command – this selects which hardware partition is used, where 0 is the user area and 1/2 are the boot areas. You’ll also notice that we wrote U-Boot to the same block offset.
Now for the fun part – let’s use U-Boot’s ‘mmc partconf’ command to update the eCSD register so we can determine which area we boot from on reset. The first parameter of partconf refers to the MMC device in U-Boot, for us that will always be 0. The next 3 parameters relates to the fields of the BOOT_CONFIG eCSD register – they are BOOT_ACK, BOOT_PARTITION_ENABLE and BOOT_PARTITION_ACCESS respectively. We’re interested in the non-volatile BOOT_PARTITION_ENABLE field which tells the eMMC which area to use – this is the third parameter to partconf.
=> mmc partconf 0 1 7 0
=> reset
resetting ...

U-Boot SPL 2020.10-52466-g6b5ec3b8773a-dirty (Feb 07 2021 - 10:14:53 +0000)
U-Boot flash.bin.1
Setting voltages
Normal Boot
Trying to boot from MMC1

U-Boot 2020.10-52466-g6b5ec3b8773a-dirty (Feb 07 2021 - 10:14:53 +0000)

CPU:   i.MX8MQ rev2.0 at 1000 MHz
Reset cause: POR
Model: Boundary Devices i.MX8MQ Nitrogen8M
Board: nitrogen8m
       Watchdog enabled
You’ll see above that we configured the eMMC to boot from ‘7’ which refers to the user area – notice the string ‘U-Boot flash.bin.1’ this relates to our flash.bin.1 binary.
Let’s try with a different setting:
=> mmc partconf 0 1 1 0
=> reset
resetting ...

U-Boot SPL 2020.10-52466-g6b5ec3b8773a-dirty (Feb 07 2021 - 10:15:15 +0000)
U-Boot flash.bin.2
Setting voltages
Normal Boot
Trying to boot from MMC1

U-Boot 2020.10-52466-g6b5ec3b8773a-dirty (Feb 07 2021 - 10:15:15 +0000)

CPU:   i.MX8MQ rev2.0 at 1000 MHz
Reset cause: POR
Model: Boundary Devices i.MX8MQ Nitrogen8M
Board: nitrogen8m
       Watchdog enabled
DRAM:  2 GiB
This time we used the value ‘1’ which refers to the first boot area and our flash.bin.2 binary – as you can see the ‘U-Boot flash.bin.2’ printf was printed. Finally we could also use the value ‘2’ to boot from the second boot area which would result in our flash.bin.3 binary running. In summary, we can select which bootloader our device boots.
We’ve demonstrated how this works in U-Boot though the same can be achieved in Linux. Let’s take a look at how Linux presents the eMMC device:
~ # ls -1 /dev/mmcblk0*
/dev/mmcblk0
/dev/mmcblk0boot0
/dev/mmcblk0boot1
/dev/mmcblk0p1
/dev/mmcblk0p2
/dev/mmcblk0rpmb
~ #
As you can see we have the user area (shown as mmcblk0 and its software partitions mmcblk0pX) and the two boot areas (shown as mmcblk0boot0 and mmcblk0boot1). You’ll also notice mmcblk0rpmb – this relates to another feature of eMMC known as Replay Protected Memory Block. You can use the mmcblk0bootX devices just like any other eMMC device – its interesting to know that when you access any of these devices, Linux will set the value of the BOOT_PARTITION_ACCESS field such that the eMMC knows which area we wish to transact on – this is needed because only one area can be active at any time.
Much like the U-Boot ‘mmc partconf’ command, Linux has an mmc utility (via the mmc-utils package). The ‘mmc bootpart’ command allows for configuration of the eCSD register – In the example below we configure the eMMC to boot from the user area, and then use the ‘mmc extcsd’ command to read it back.
~ # mmc bootpart enable 7 1 /dev/mmcblk0
~ # mmc extcsd read /dev/mmcblk0 | grep -A1 PARTITION_CONFIG
Boot configuration bytes [PARTITION_CONFIG: 0x78]
 User Area Enabled for boot
Finally, by default the boot areas are set to read-only by the kernel, if you wish to write to them you’ll need to un-set the read-only flag as follows.
~ # echo 0 > /sys/class/block/mmcblk0boot0/force_roAs we’ve demonstrated, eMMC provides a capability that allows us to construct power failure tolerant software update mechanisms – it would be trivial to incorporate this into an update solution such as SWUpdate and thus remove the risk of updating bootloaders in the field.
It’s worth pointing out that eMMC has many more features to offer, why not grab a coffee and get to know your nearest eMMC?